Mar 19, 2020
"Blur" of the Partial correction tool
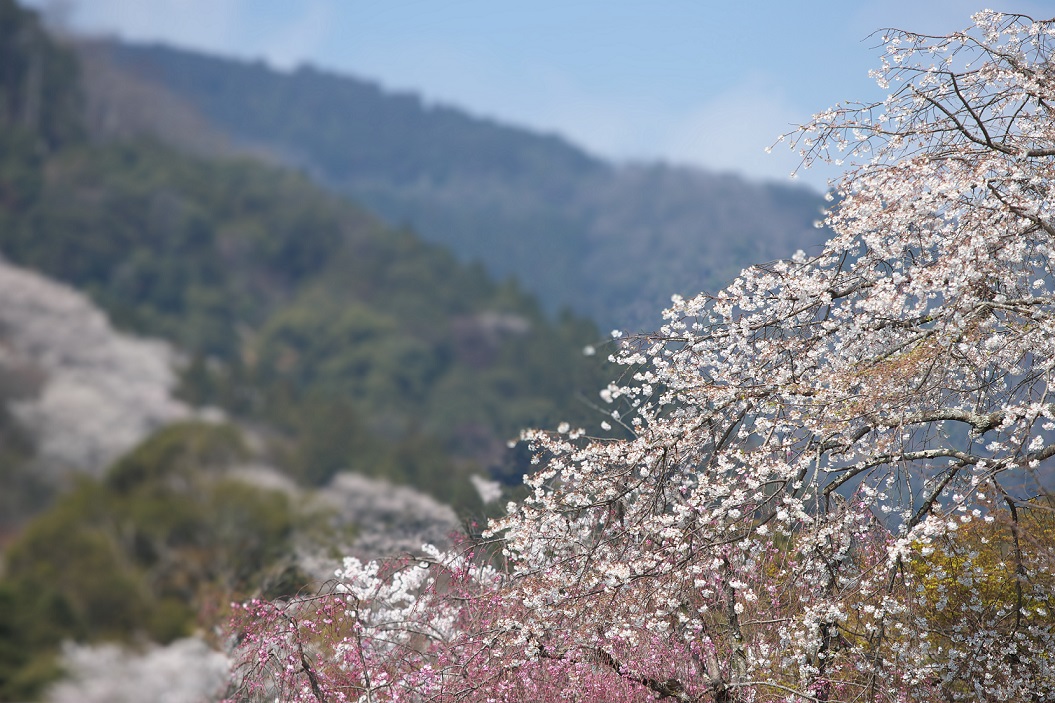
Introduce the new function “Blur” of the Partial correction tool
You can blur areas that you specify with the Partial correction tool in SILKYPIX Developer Studio Pro10 and later. It is a great tool for various scene, such as making subjects stand out and protecting privacy!
We would like to show about the “blur” of the Partial Correction tool!
About “Blur” of the Partial correction tool
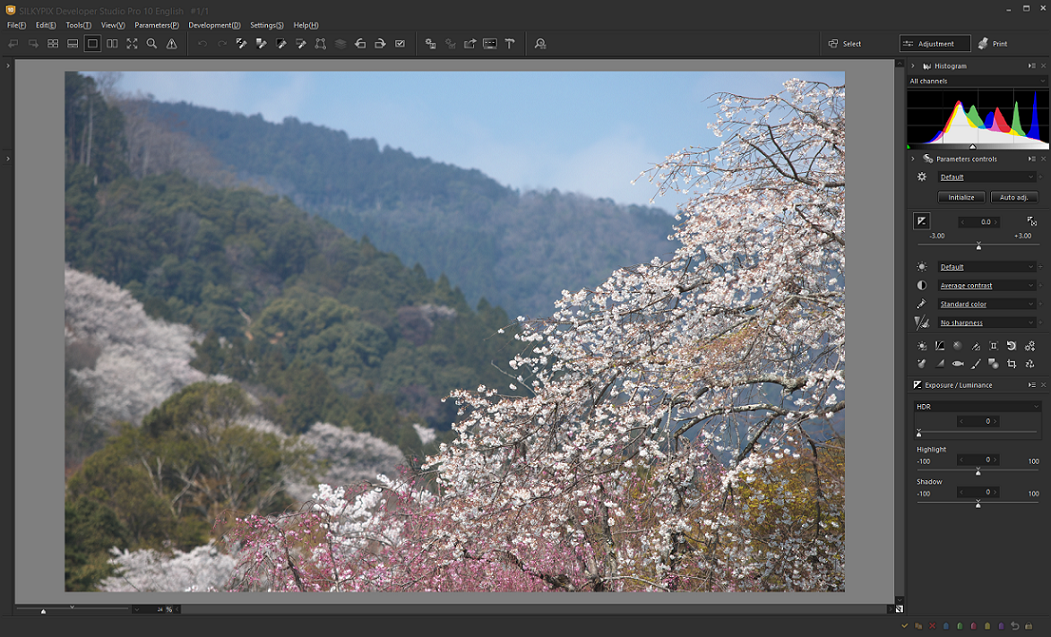
We would like to blur the background and make adjustments show off the cherry blossoms in the foreground. The time has come to use “Blur” of the Partial correction tool!
First, make sure that the section of the main window is the “Adjustment” section. Click here for Main window section switching.
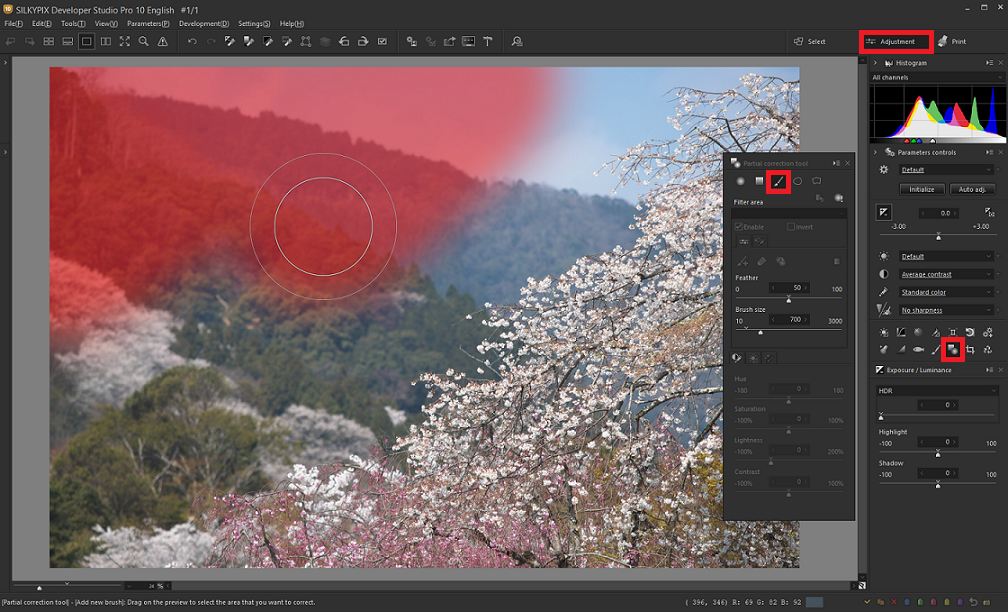
The Partial correction tool has the Add circular correction filter, the Add gradual correction filter, the Add new brush and Add curve/polygon tools for specifying the area you want to adjust. This time we specify the area with brush.
The area in painting is red, and when the painting is completed, the specified area is displayed with 100% brightness.
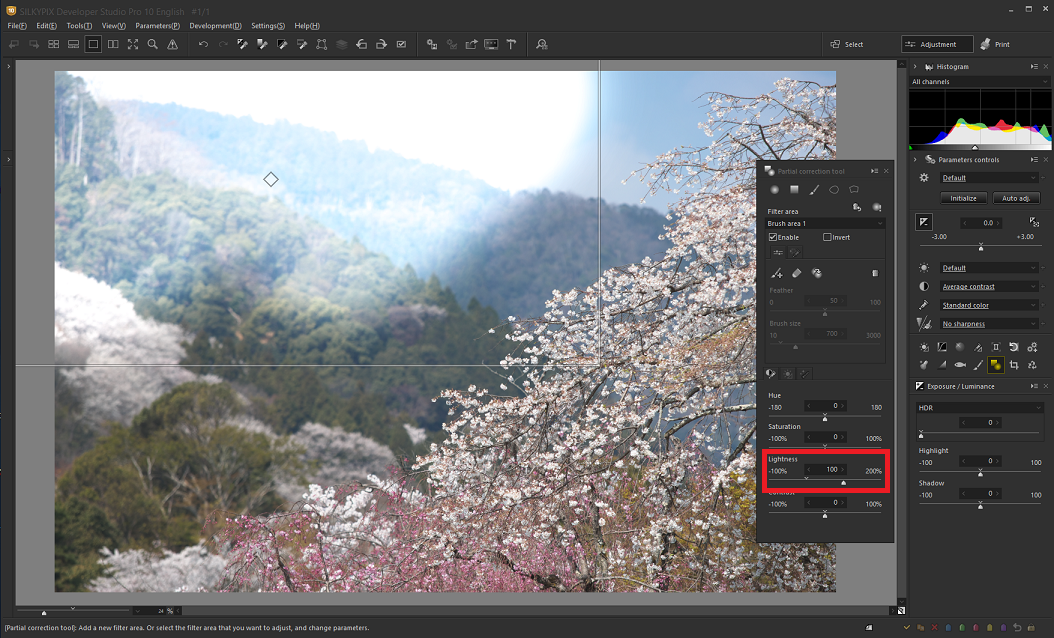
In SILKYPIX, the brightness is set to 100% once to make the specified area easier to understand. When you have finished specifying the range, adjust the brightness as much as you need.
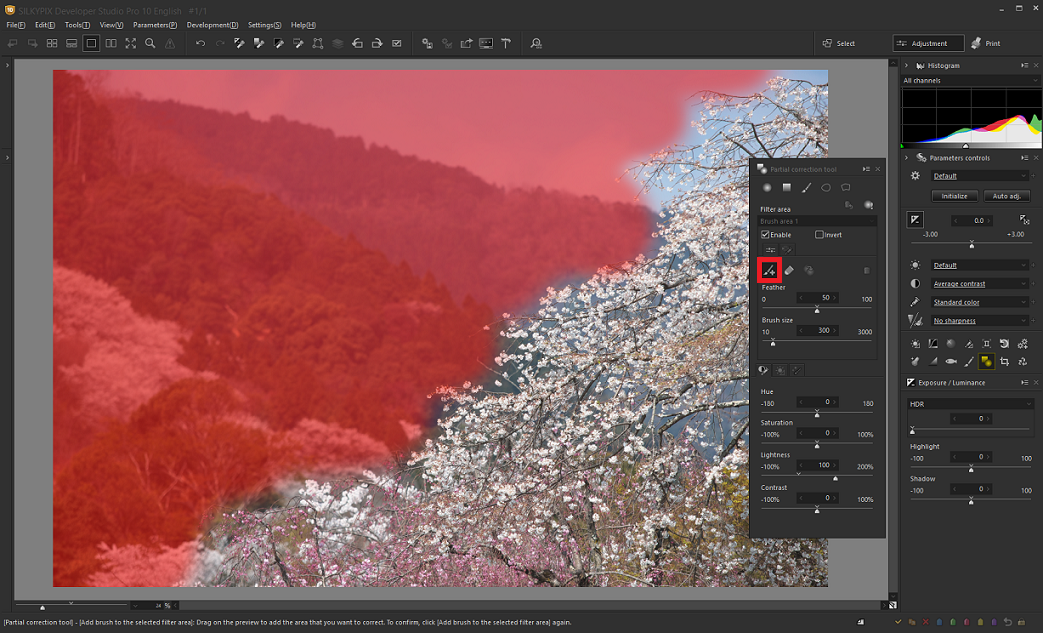
The unpainted part can be added with “Add brush to the selected filter area”. You can use this “Add brush to the selected filter area” to specify a forgotten or distant area. When the addition is completed, click “Add brush to the selected filter area” again to turn off the red display and confirm.
You can also use the “Brush eraser” on the Eraser icon to erase an incorrect or undesired area. When you finish erasing, click “Brush eraser” again to decision.
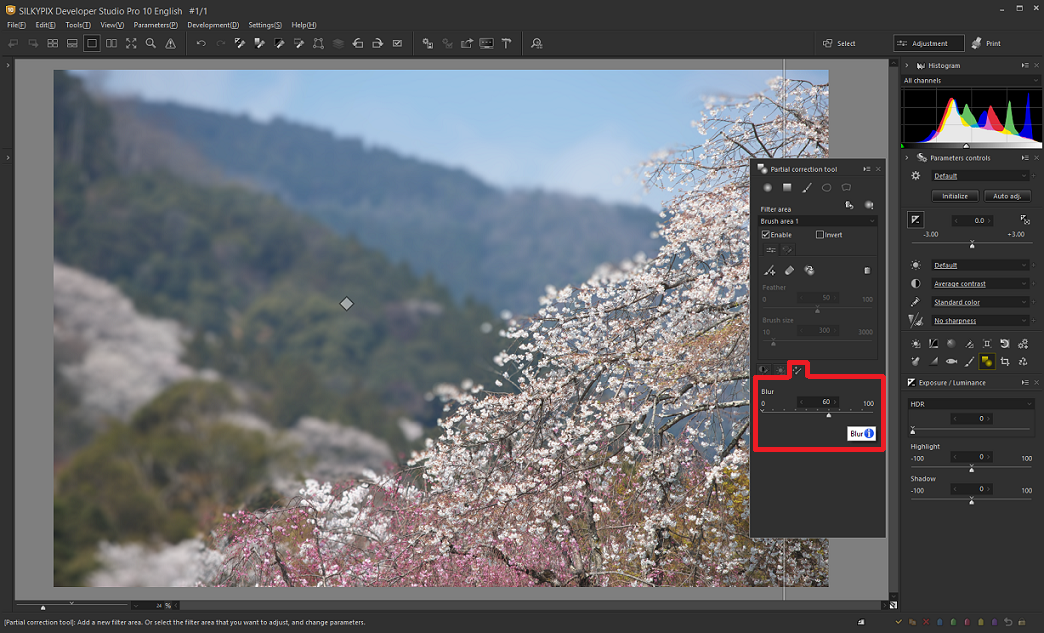
In this image, it set the brightness back to 0%. Then, we would like to blur the background.
The “blur” adjustment item was added in “Effects” tabs, next to the “Color / Contrast” and “White balance adjustment” of the the Partial correction tool. The “Blur” is in “Effects”.
After selecting the area, you can apply blur by increasing the value of blur.
*The Feather is intended to sharpen or blur the boundaries of the selection. This is not the Blur function.
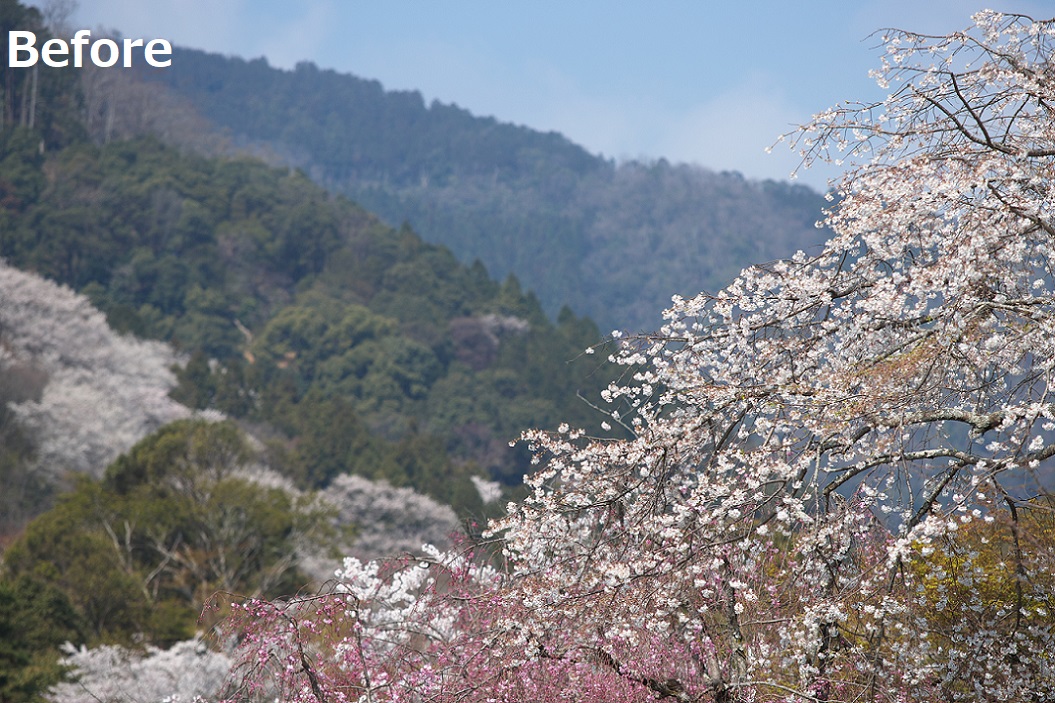

You can successfully blur the background to create a more impressive image.
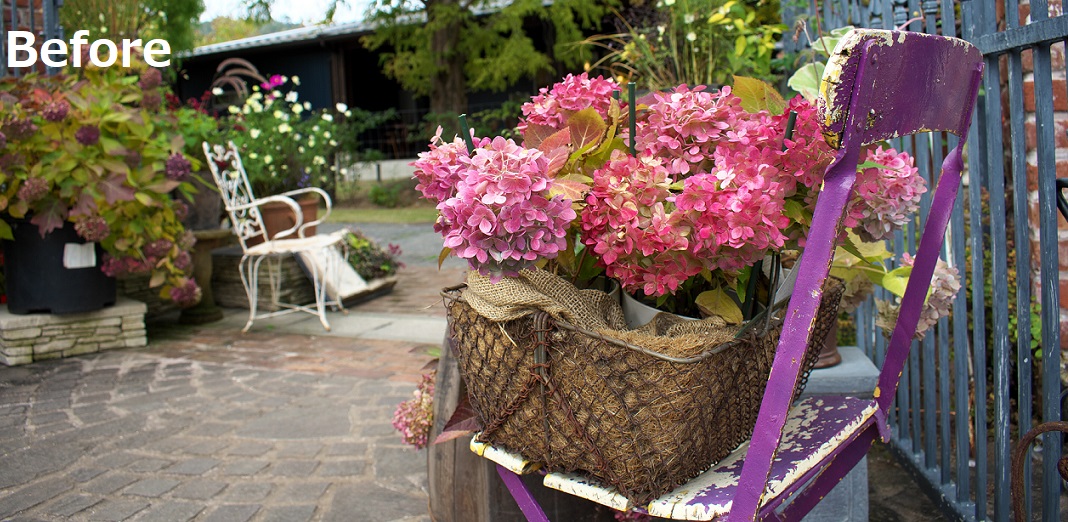
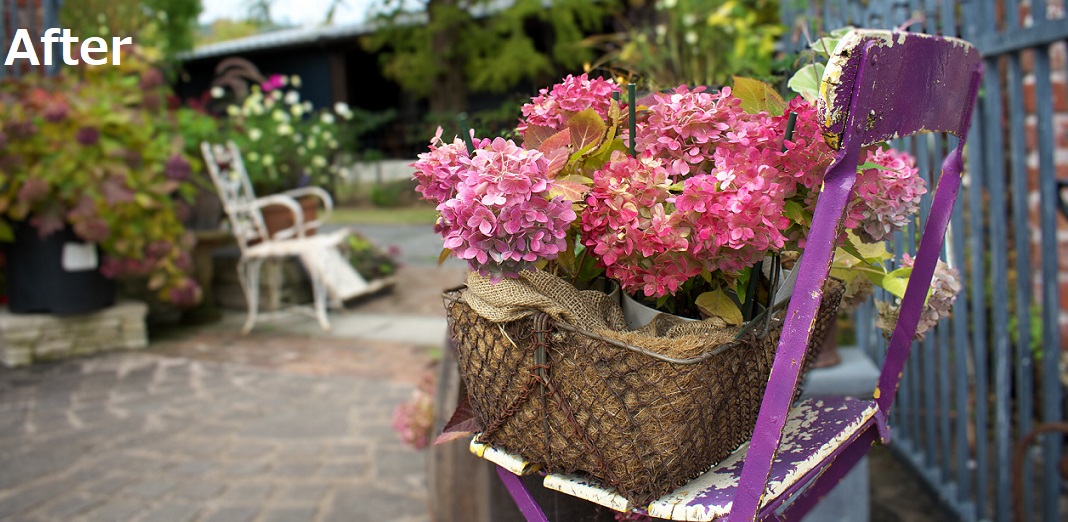
You can use the “Blur” of the Partial correction tool as a tool to attract or guide the gaze to the subject.
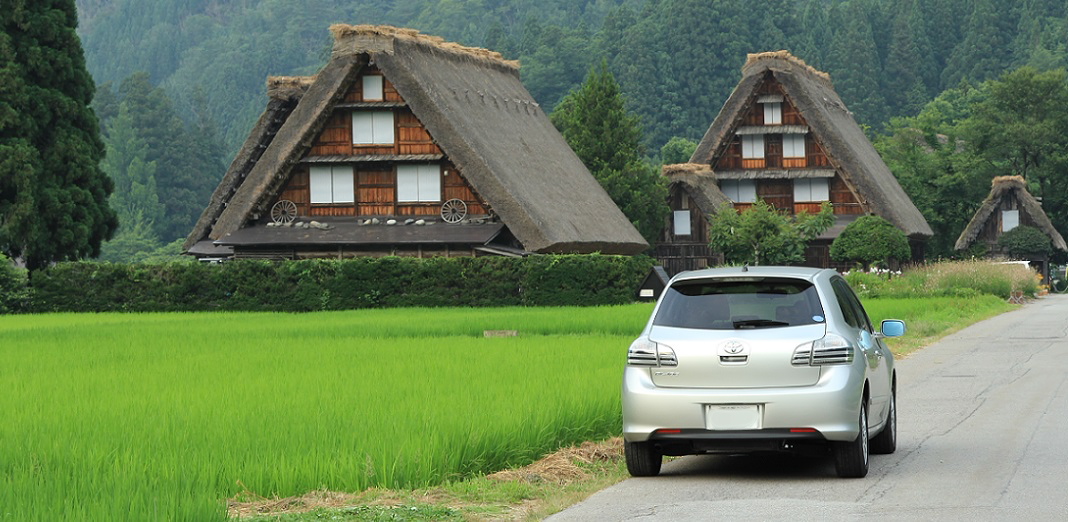
In addition, if you want to protect the privacy by performing “blur” on the face of a person or the number of a car. Even in such a case, “Blur” of the Partial correction tool is effective!
Read past posts on the Partial correction tool here!
- Curve/Polygon area selection
- Select color to be corrected, Invert corrected area and Using Select color to be corrected
The Partial correction tool is available in Professional edition’s SILKYPIX only. If you haven’t used the professional edition yet, you can try all the features for free 30 days, so please download it!
 Go Back
